Top 8 DIY Easy Nail Art Designs for Beginners Without Tools
Nail art made easy! Check out the top 8 DIY designs for beginners that don’t need tools. Fun, quick, and perfect for any occasion.
WOMEN'S BEAUTY HEALTH
Shari Smith
2/24/20254 min read
As an Amazon affiliate, we earn commissions at no extra cost to you if you click our links and make a purchase.
Who says nail art has to be complicated or require a professional kit? Believe it or not, you can create stunning nail designs right at home with items you already have lying around.
In this post, we’ll share eight beginner-friendly nail art designs that don’t need special tools—just household items and a little creativity. Ready to have fun and glam up your nails? Let's get started!

Why Try Nail Art Without Tools?
Sometimes, the best results come from the simplest techniques. Maybe you don't have a nail art kit, or perhaps you're looking for creative ways to repurpose everyday objects.
Either way, these designs are straightforward, budget-friendly, and perfect for anyone just starting to explore nail art. Plus, they’re a fun way to express your style without a trip to the salon!
Essential Tips Before You Begin
Getting your nails ready is key to making your designs pop. Here are a few quick prep steps:
Clean and shape your nails: A smooth base makes all the difference. Trim and file your nails, giving them a neat shape.
Apply a base coat: Protect your nails and ensure the colors stick better.
Keep your materials nearby: Gather your essentials like toothpicks, bobby pins, and tape to make the process smooth.

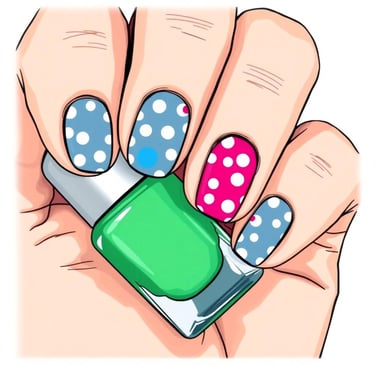
Design #1: The Polka Dot Dream
Love easy yet cute designs? Polka dots are the way to go. Grab a toothpick (or the end of a bobby pin), dip it into your nail polish, and dot it onto your nails. Use one color for a minimalist look or mix shades for a vibrant effect.

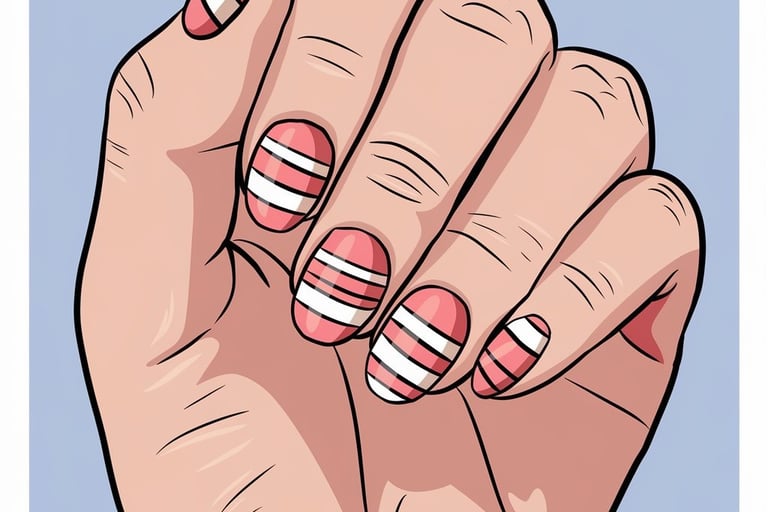
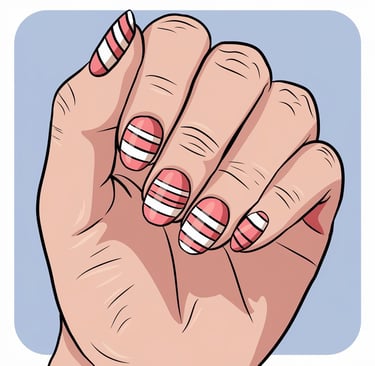
Design #2: The Striped Chic Look
Who knew tape could be the secret to gorgeous nails? Cut small strips of tape and stick them onto your nails to create crisp lines. Paint over them with your chosen color and peel them off while the polish is still wet. Voilà, clean and professional-looking stripes without any fuss.
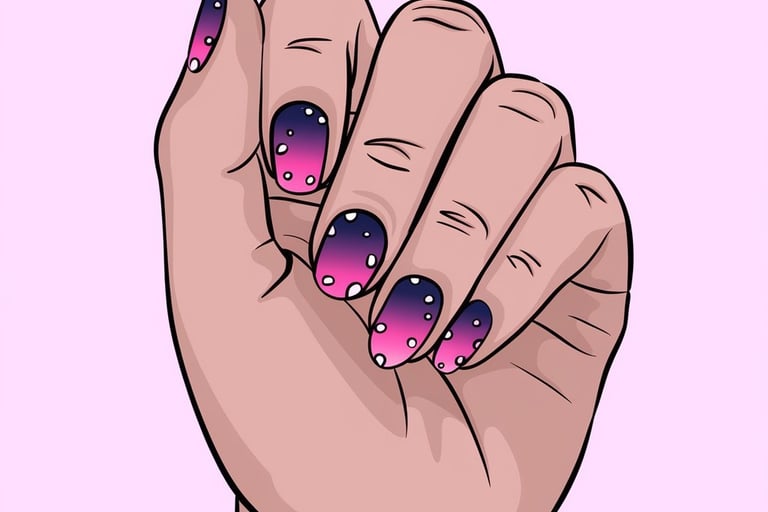
Design #3: The Sponge Gradient
Want fancy-looking nails without spending a dime? Use a clean sponge (like a makeup sponge or even a kitchen one). Dab two or three nail polish colors onto the sponge, then press it gently onto your nails. The result? A dreamy, blended gradient that looks straight out of a nail salon.
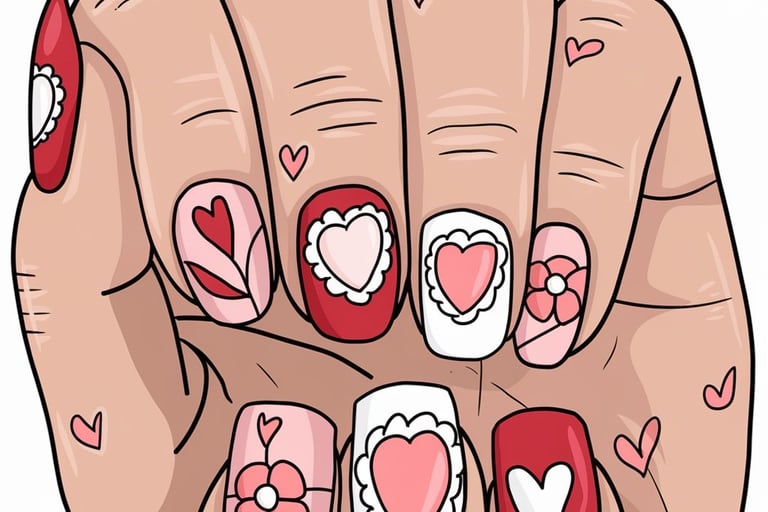
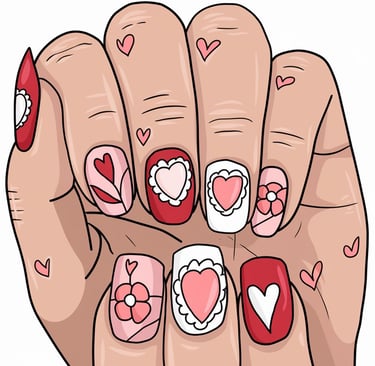
Design #4: The Safety Pin Detail
Your safety pin is now your nail artist's best friend. Use the tiny tip to create delicate details like hearts, flowers, or subtle swirls. This is great for intricate patterns without requiring professional tools. Dip the tip into your nail polish, then carefully draw onto your nails.
Design #5: The Newspaper Print
This one’s a conversation starter! All you need is a base color, some rubbing alcohol, and a piece of newspaper. After your nails are painted and dry, dip them in alcohol, press the newspaper onto your nail, and hold for a few seconds. Remove it, finish with a top coat, and you’ll have text-stamped nails that are mind-blowingly unique.
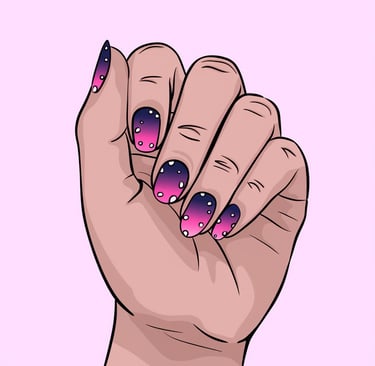
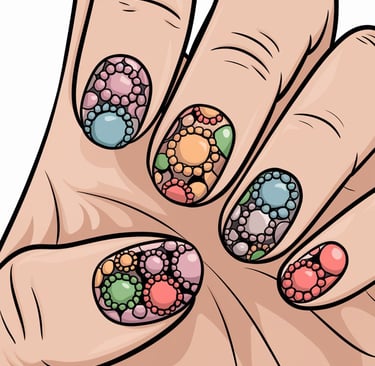
Design #6: The Abstract Dot Cluster
Let your creativity shine! Using the back of a pen or an old pencil eraser, create clusters of dots on your nails. They don’t have to be perfectly spaced—random placements actually work better. Use colors that complement your outfit or go wild with contrast!

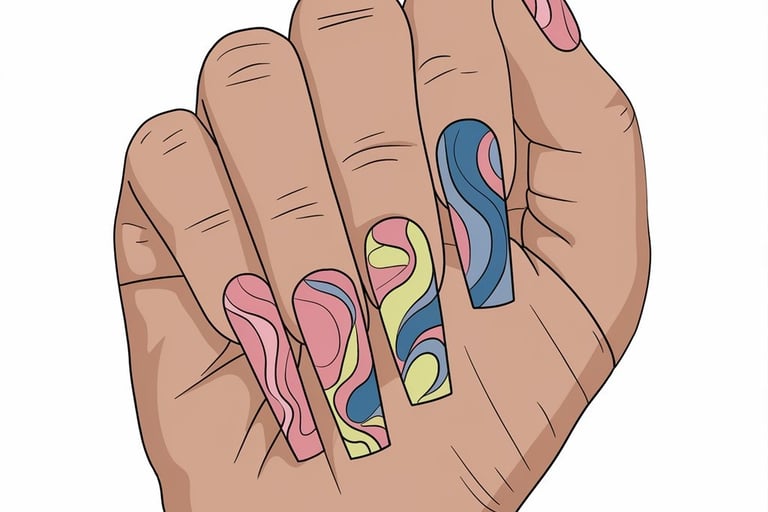
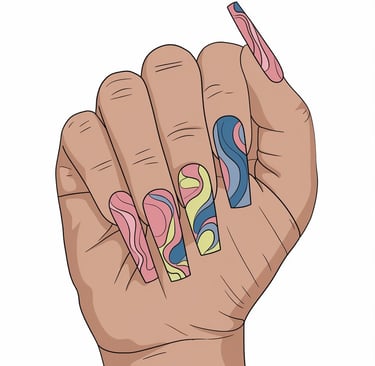
Design #7: The Swirl Effect
For this look, take two or three nail polish shades and place small drops side by side on your nail. Use a toothpick to swirl the colors together gently before they dry. It’s an effortless way to add a touch of elegance while making your nails pop.
Design #8: The Minimalist French Tip
No tools? No problem. Use a steady hand or a bit of tape to create a classic French tip at home. If you’re feeling playful, swap the traditional white tip for a bold color—think gold, neon, or even glitter.
Seal the Deal: Adding the Final Touch
Once your designs are dry, finish them off with a clear top coat. This step not only gives your nails a glossy, professional finish but also helps your art last longer without chipping. Trust us, you don’t want to skip this!
Ready to Try These Easy Nail Art Designs?
Nail art doesn’t have to be intimidating or expensive. With just a bit of imagination and items you already have at home, you can create stunning designs that feel professional. Whether you’re heading to a party, spicing up your everyday look, or just having fun on a rainy day, these ideas are simple and full of charm.
Ready to give it a shot? Gather your supplies, hit play on the video above, and bring these designs to life. Share your results—you might just inspire someone else to try nail art too!