Plump Lips Naturally With Exercise (What to Expect and How to Do It Safely)
Want fuller-looking lips? Plump Lips Naturally With Exercise with gentle routines, warm-ups, and aftercare, so you don't overdo it, for beginners.
Shari Smith
1/9/20268 min read
As an Amazon affiliate, we earn commissions at no extra cost to you if you click our links and make a purchase.
Want to get bigger lips naturally (fuller, healthier, and more “awake”) without needles? You’re not alone. A lot of us want that soft, plump look, but we also want it to feel natural and comfortable.
That’s where plump lips naturally exercise routines, a type of face yoga exercises, can fit in. Lip exercises won’t copy the look of filler, but they can support better lip posture, circulation, and muscle control.
For many women, that adds up to lips that look smoother and more balanced, especially in photos or with lipstick.
You’ll be following along with a lip exercise video for the actual moves. This post explains why those moves can help, what results are realistic for a youthful appearance, and how to get the best outcome without irritating your skin or stressing your mouth.
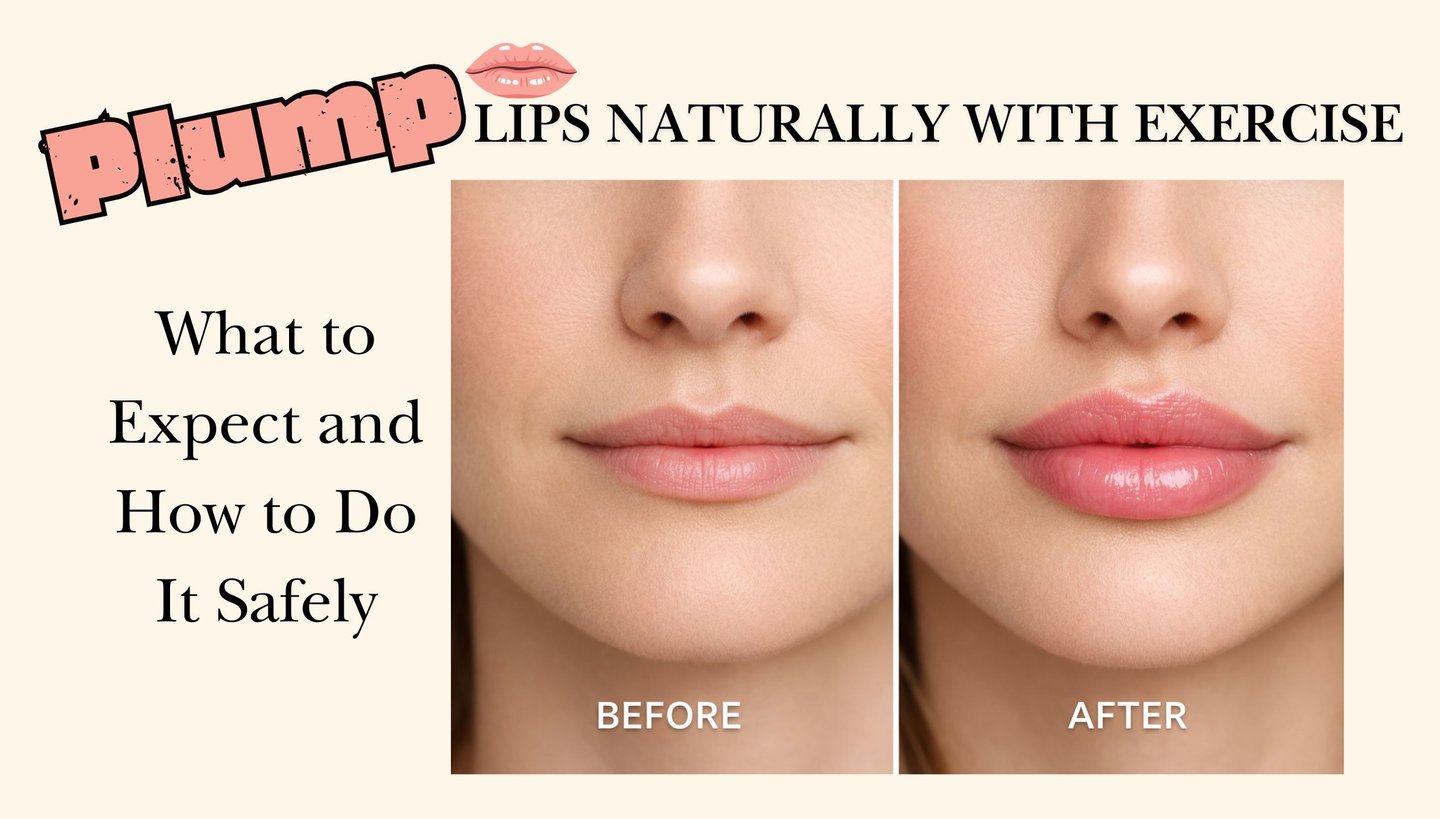
Can you get plump lips naturally with exercise? What’s realistic...
Exercise offers a realistic path to naturally full lips in subtle ways, but “plump” can mean a few different things, and not all of them require added volume.
Here’s what “plumper” often looks like in real life:
Lips look more hydrated, so fine lines don’t stand out as much.
The mouth area looks less tight, especially at the corners.
Lips look rosier right after movement (thanks to blood flow).
Your resting mouth posture looks calmer, with a light, easy lip seal.
What exercise can do:
Create temporary fullness from circulation, similar to how cheeks look flushed after a brisk walk.
Improve muscle tone and coordination around the mouth, which can change how your lips sit at rest.
Help reduce habits that flatten the lip area over time, like mouth breathing or constant tension.
What exercise can’t do:
It won’t add new tissue or give a permanent, dramatic “filler” result.
It won’t erase deep lines on its own, especially if dryness and sun damage are part of the picture.
Some people notice more visible change than others. You may see more improvement if you tend to have:
Mouth breathing: Often linked to dry, tight lips. A weak lip seal: Lips part at rest, and the area feels tired. Jaw tension or clenching: Tight muscles can pull the mouth area down or in. Lip tension: Habitual pressing, pursing, or holding the lips rigid.

Follow Along Lip Exercises & Stretches: Plump Lips, Bigger Lips and Fuller Lips Naturally
How lip and face muscles affect the look of your lips
Your lips aren’t just skin. They’re shaped by a ring-like muscle called the orbicularis oris, plus a team of smaller muscles around the mouth that help you smile, speak, sip, and hold your lips together.
When these muscles work well together, a few helpful things happen:
Your lips can rest lightly closed, instead of hanging open or pressing hard.
The corners of your mouth can look less “pulled,” which often softens your whole expression.
Lipstick can sit more evenly because your lips aren’t fighting tension or dryness.
Think of it like posture, but for your mouth. You’re not forcing anything, you’re just training a calmer, more supported resting shape.
Fast results vs long-term changes, what to expect
There are two timelines with lip exercises, and it helps to know both so you don’t get discouraged.
Right after a session (fast effects):
Warmth in the lip area
A mild “pumped” look from circulation
A rosier tone that can last minutes to an hour or two
Over time (small but meaningful changes):
Less tightness around the mouth
Better control when you purse, smile, or sip
A smoother look at rest because the area is less tense
Most women who notice changes feel them first, then see them later. A realistic window is 2 to 6 weeks of steady practice to spot small visual shifts, especially in how your lips sit at rest and how they look with balm or gloss.
Benefits of lip exercises beyond looking fuller
If your main goal is “plump,” the best part is that the benefits often show up in daily comfort first. That comfort changes how you carry your face, and that can change how your lips look.
Better lip seal and less mouth breathing
A relaxed, closed-mouth resting posture is underrated. When your lips rest lightly together, they stay more protected from dry air, heat, and cold.
Mouth breathing can dry lips fast, especially in winter or in air-conditioned spaces. Over time, dryness makes lip lines look deeper and can make lipstick cling or crack.
Simple cues that support a better lip seal:
Let your lips touch lightly, no pressing.
Rest your tongue gently on the roof of your mouth, a bit behind your front teeth.
Breathe through your nose when possible, especially at rest.
Lip exercises can help because they train the muscles to “find” closure without strain. It’s less about strength and more about control.
Less tension in the jaw and around the mouth
Stress likes to live in the jaw. Many women clench while driving, working, working out, or even sleeping. That tension can spread into the lips and chin.
When the area around your mouth is tight, it can:
Pull the corners of the mouth inward
Make your lips look thinner at rest
Create a “strained” look, even when you’re not upset
A good lip routine acts like a mini massage for your mouth area. The goal is a softer face, not a clenched workout. When tension drops, your lips often look more at ease, which reads as fuller on camera.
If you catch yourself clenching during the day, try this quick reset:
Drop your shoulders.
Let your teeth separate slightly.
Let your lips meet softly.
Take one slow breath through your nose.
Do it once, then move on. The small resets add up.
Clearer speech and better control for smiling, sipping, and lipstick
This benefit surprises people. Lip control matters for speech, sipping, and even how makeup behaves.
With better coordination around the mouth, you may notice:
Clearer sounds on words that use the lips (like “p,” “b,” and “m”)
Easier sipping from a straw without wrinkling the upper lip
Less strain when holding a smile for photos
Some women also notice lipstick looks neater. Not perfect, and not for everyone, but it can help. When your lips press less and your corners feel steadier, you may get less feathering at the edges, especially when you pair it with a good liner.
How to use a lip exercise video for the best results
Since the video shows the moves, your job is to make the routine consistent, gentle, and safe. That’s what gets results you can actually keep.


A simple weekly routine that is easy to stick to
You don’t need long sessions. You need repeatable ones.
A starter plan that works for busy schedules:
5 to 10 minutes, 4 to 6 days per week
One rest day if your mouth area feels tired
A simple structure:
Warm-up (1 minute): gentle massage around the lips, then two slow breaths through the nose.
Video routine (3 to 8 minutes): light effort, smooth motion.
Cool-down (30 seconds): relax the lips, sip water, apply balm.
Consistency beats intensity. If you do too much too soon, your lips may feel tight, and you’ll want to quit. A smaller routine you actually repeat will do more for your look over time.
Progress tips that keep it realistic:
If you’re new, start at 4 days a week for two weeks.
Add time only if you feel good after sessions.
Take a quick photo in the same light every two weeks if you want to track subtle change.
Form and safety tips so you do not cause wrinkles or irritation
Lip exercises should feel controlled and gentle. Many “bad results” come from doing too much force or rubbing the skin.
Common mistakes to avoid:
Puckering too hard: This can crease the area and trigger strain.
Holding your breath: It raises tension in the jaw and neck.
Pulling the skin with your fingers: It can irritate delicate lip edges.
Using too much pressure during massage: More pressure isn’t better.
Doing too many reps: Fatigue can lead to sloppy form and tightness.
Form cues that keep things safer:
Keep your forehead relaxed. If you’re wrinkling your brow, ease up.
Keep your jaw “unlocked,” with teeth not clenched.
Use about 30 to 50 percent effort. This is training, not max effort.
Stop if you feel pain, sharp tingling, numbness, or lasting soreness.
Also, be careful with harsh rubbing. Lips and the skin around them can get irritated fast, especially if you use acids, retinoids, or strong actives in your skincare routine.


Boost your results with simple habits that support plumper-looking lips
Exercises help most when your lips are cared for like the delicate skin they are. To hydrate your lips effectively, keep them from getting dry and sun-stressed, or even the best routine won’t look its best.
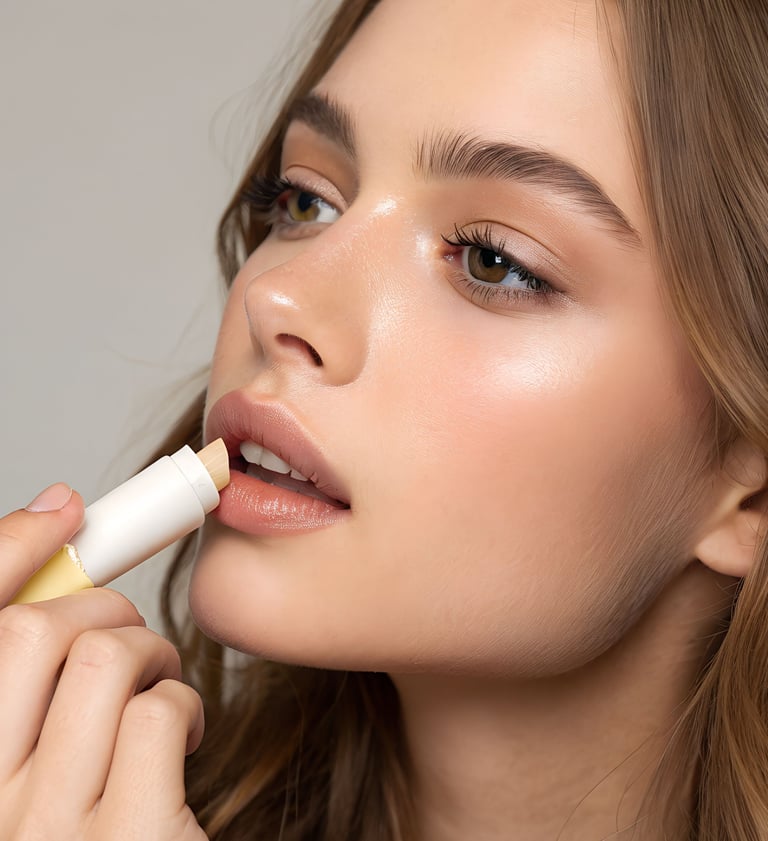
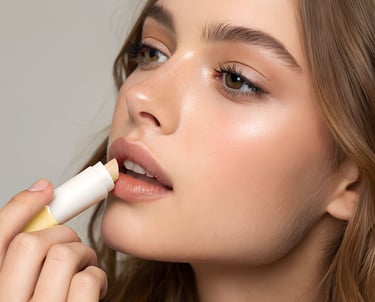
Hydration, lip balm, and SPF, the basics that change the look fast
Hydrated lips often look fuller right away. Dry lips look smaller because lines show more, and the surface gets rough.
A simple daily baseline:
Drink water through the day, not all at once.
Use a plain, fragrance-free balm when your lips feel dry.
Use SPF for lips during the day, even in winter.
Sun exposure can dry and thin the lip area over time. SPF helps protect the softness you’re working for.
One habit to drop: licking your lips. Saliva evaporates quickly and pulls moisture with it, which can make dryness worse.
If you tend to get flaky lips, try this instead of scrubbing:
Apply balm.
Let it sit for 10 minutes.
Wipe gently with a soft damp cloth.
Quick tricks for a fuller look while you build the habit
While you’re doing your video routine for a few weeks, makeup and comfort tricks can help you enjoy the process.
A few safe options:
Lip liner, slightly over the border: Keep it subtle and close to your natural shape, then blur it with a fingertip.
Gloss only in the center: A small dab on the middle of top and bottom lip adds shine where light hits.
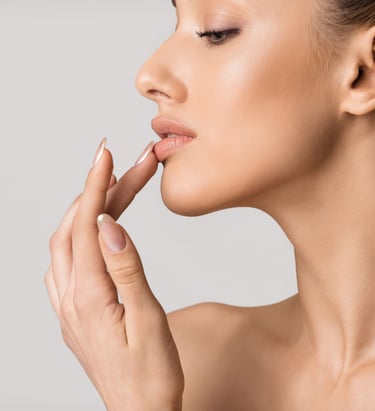
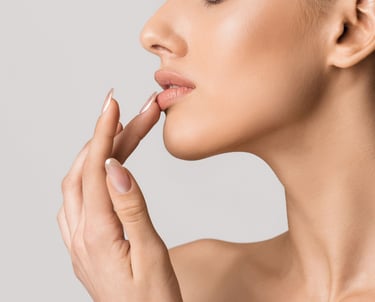
Gentle lip massage with balm: Use light circular motion for 20 seconds, then stop.
Cool compress for irritation puffiness: Only if your lips are puffy from dryness or a reaction, not as a “plumping hack.”
Skip risky DIY methods like harsh suction tools, aggressive scrubs, or irritating “spicy” mixes you make at home. If something stings, burns, or leaves redness, it’s not a beauty trick, it’s irritation, especially with rough lip scrubs.
Conclusion
A face yoga exercises routine for plump lips naturally is really about small, healthy upgrades: better circulation to boost the volume, calmer mouth posture, less tension, and more comfort.
Those changes can make lips look softer with improved lip contour and lead to naturally full lips, even if the shift is subtle. Moves like the tongue twister add variety for long-term success.
Follow the video consistently for a few weeks, keep your effort gentle to prevent wrinkles, and pair it with hydrate your lips and lip SPF.
Save your routine, set a reminder, and check in with your lips after 2 to 4 weeks. To get bigger lips naturally, the best results usually come from the simplest plan you can repeat for fuller lips.