20-Minute Neck Pain Relief Routine with Real-Time Stretches and Exercises
Do real-time stretches and neck pain exercises in a simple 20-minute routine, reduce tension, boost mobility, and feel relief you can trust at home.
HEALTH & WELLNESS
Shari Smith
10/7/20257 min read
As an Amazon affiliate, we earn commissions at no extra cost to you if you click our links and make a purchase.


Stiff neck, stiff shoulders, and a headache creeping in from a long day at a desk?
This simple 20-minute routine guides you step by step in real time, so you can follow along without counting reps.
It helps you loosen tight muscles, build strength where it matters, and reset your posture for effective neck pain relief.
It is not a coconut cake recipe, but it is just as satisfying when you feel that tension let go.

20 Minute Neck Pain Exercises for Instant Relief
Follow Along With This Video
Getting Started: Why Follow This Routine
This guided session blends gentle movement, targeted stretches, and safe strengthening to help relieve neck pain.
You will warm up first, then move through 30-second sets for both stretches and exercises. Expect short breaks in between moves, which gives your muscles time to relax and reset.
Here is what this routine supports:
Relieves tight neck muscles in the neck and shoulders
Improves poor posture, especially if you sit or drive a lot
Builds stability to reduce daily discomfort
Helps you move in a safe, pain-free range
Who this helps:
People sitting at a computer for long periods
Anyone with stress-related neck tightness or tension headaches
People with stiff upper backs or rounded shoulders
Those cleared by their provider and ready for gentle, guided movement
Work within your comfort zone and stay in a pain-free range of motion. If something feels wrong, stop and check with your healthcare provider. Slow and steady change is best.
Warm-Up: Loosen Up Gently
Start with about one minute of neck exercises to gently warm up the neck and shoulder muscles.
The goal is circulation, neck mobility, and flexibility, not a workout.
Keep motions smooth and small.

Side Bends and Rotations
Tilt your head side to side, then perform neck rotations slowly to look left and right. Keep it light and relaxed. Stay in your pain-free motion for now. If your neck is healthy and calm, you can go a little further.
Try this:
Side bend right, then left, 3 to 4 reps per side
Rotate right, then left, 3 to 4 reps per side
Pause and breathe between reps
Shoulder Circles
Circle your shoulders forward and backward. Neck and shoulder muscles share many connections, so this simple move helps both areas. Switch directions after about 30 seconds.
Take a short break before moving into the main set.
Use a timer if it helps you get that real-time rhythm.
Chin Tucks: Build Posture and Strength
Chin tucks are small but powerful.
They reset that forward head posture and make your neck muscles stronger by gently stretching and strengthening the deep muscles that hold your head in a better position.


Basic Chin Tuck
You are not tucking down, you are tucking back and in from a neutral chin.
Start tall with your chin in a neutral position.
Gently slide your chin straight back, like you are making a double chin.
Hold 3 to 5 seconds, then relax.
Tips:
Place a finger on your chin as a guide, then glide back until your chin touches your finger.
Keep it painless. Small movement is fine. Over time, your range often improves.
Daily is great, especially as an exercise during work. People even do them at stoplights.
Advanced: Add Shoulder Movements
Once the tuck feels good, keep it and add shoulder work. This helps the neck and shoulder muscles learn to coordinate.
Try one of these:
Shoulder shrugs with tuck: lift both shoulders up, then lower
Squeezes with tuck: draw shoulder blades gently toward each other
Alternate shrugs and squeezes while holding the tuck
Tips:
If holding the tuck the whole time feels hard, reset between reps.
Work toward holding the tuck while moving your shoulders for better control.
Start small to avoid soreness. Quality over quantity.
Want more ideas for neck relief routines? Explore Dr. Jo’s Neck Pain Relief Playlist.
Key Neck Stretches: Target Tight Muscles
Now that the muscles are awake, move into three focused neck stretches.
Hold each side for about 30 seconds.
Breathe slowly and keep your shoulders relaxed.
Aim for gentle tension, not pain.
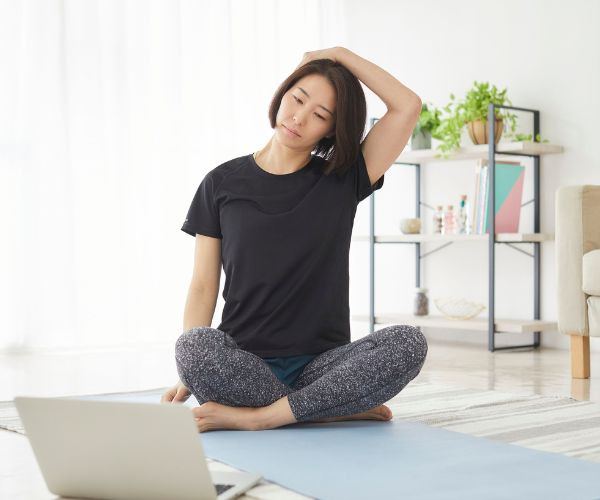
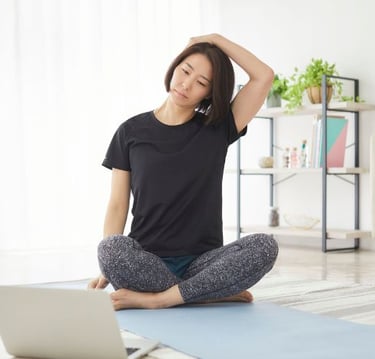
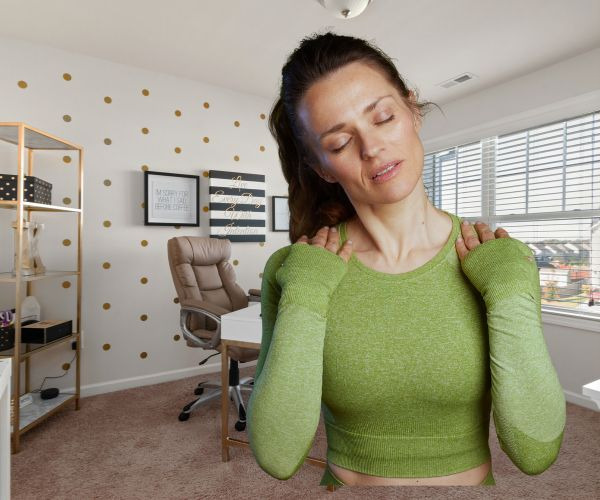
Upper Trap Stretch
The upper trapezius on the sides of your neck and shoulders often holds a lot of stress.
How to do it:
To stretch the left side, sit on your left hand or place it behind your back.
Bring your right hand over your head and gently pull your head to the right.
Keep your head fairly neutral, not turned up or down.
Variations:
Sit on your hand for a deeper anchor
Hand behind your back to keep the shoulder down
No hand support if the others feel uncomfortable
Tips:
Keep the shoulder low for a better stretch.
Gentle head turns can change the angle once you are comfortable.
Hold a steady 30-second hold with easy breathing.


Levator Scapulae Stretch
This muscle runs from your shoulder blade to your neck and gets tight with stress, desk work, and rounded posture.
How to do it:
On the side you are stretching, bring your hand up like a helmet.
Pull your head at a 45-degree angle, as if your nose is going toward the opposite armpit or knee.
Look slightly down as you find that angle.
If lifting your elbow is hard:
Place your hand behind your back to stabilize the shoulder blade.
Maintain the 45-degree angle with your head and neck.
Benefits:
Eases pulling on the cervical spine
Helps reduce trigger points near the shoulder blade
Relieves constant achiness from poor posture
Anterior Scalene Stretch
Many people know this as the portrait pose. It targets muscles along the side of the neck that can affect posture and even rib pressure.
How to do it:
Use the hand on the opposite side to gently press down on your collarbone to stabilize it.
Turn your head toward that same side.
Lift your ear toward the ceiling to lengthen the front of your neck.
Adjustments:
Try turning your head the other way, then lift the ear to the ceiling. Pick the angle that gives the best stretch.
Use deep breathing to settle in, then ease a little farther as you exhale.
Notes:
This can help if you have symptoms tied to pressure at the first rib, like in thoracic outlet patterns.
Light pops or crackles can happen. It is often fluid shifting in the joints or normal joint motion. If it is painless, it is usually fine.
Switch sides and repeat each stretch. Keep it comfortable.
Deep Neck Flexors and Rhomboid Stretch: Strengthen and Stretch the Upper Back
Now return to chin tuck work and add small neck flexion to target deep stabilizers.
Then open up the upper back with a rhomboid stretch.


Deep Neck Flexor Exercise
These tiny but important muscles sit deep in the front of your neck. They help your posture and protect your joints.
How to do it:
Tuck your chin gently.
While holding the tuck, nod slightly as if you are trying to bring your chin down toward your chest.
Keep the motion very small. You can hold for a few seconds or do small repeats.
Options:
Single tucks with small flexion and relax
Hold the flexion briefly, then release
Stay in a chin tuck and add several small nods
You will not see a big motion here, and that is okay. These deep muscles do not need much to work.
Rhomboid Stretch
The upper back influences the neck more than most people realize. Relaxing the rhomboids can take tension off the neck.
How to do it:
Clasp your hands in front of you and reach forward as if punching out.
Tuck chin and gently round your upper back to create space between your shoulder blades.
You can slouch slightly to deepen the stretch.
Do this seated or with legs out in front of you on the floor for a bigger stretch. When the shoulder blades move well, the neck usually feels better.
Isometric Exercises: Strengthen Without Pain
Finish with isometric holds.
You activate the muscles but do not move your head, which is great when motion hurts.
Start with about 30 percent effort for 3 to 5 seconds.
Rest, then build to 10-second holds over time.
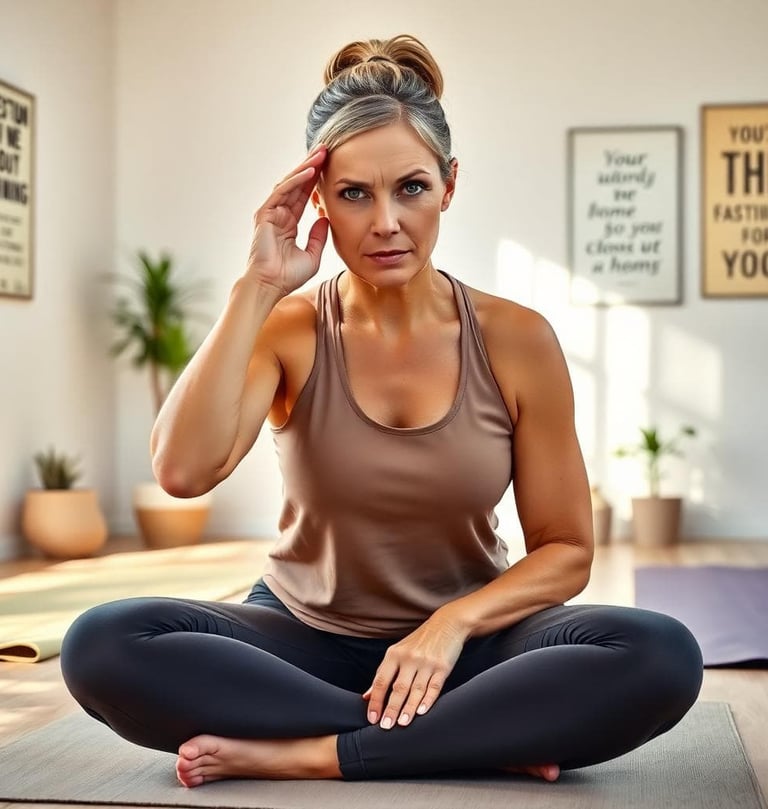
Cervical Side Bend Isometric
This targets the muscles that control side bending without moving the neck.
How to do it:
Place your hand on your temple.
Try to bend your head toward your hand, but resist with your hand so there is no movement.
Hold for 3 to 5 seconds, then switch sides.
Progress:
Start with 3 to 5 seconds
Build to 10 seconds as tolerated
Stay between 30 and 50 percent of your maximum effort
Lighter pressure can target deeper stabilizers. Keep your breath smooth. Light pops can happen and are usually fine if painless.
Cervical Extension Isometric
This strengthens the muscles that support you when you tilt your head back.
How to do it:
Place both hands behind your head, or use a wall or high-back chair.
Gently press your head into your hands or the surface.
Do not let your head move. Hold steady, then relax.
Progression:
Begin with 3 to 5 seconds at about 30 percent effort.
Work up to 5 to 10 seconds at about 50 percent effort.
Rest fully between holds and keep breathing.
Safety notes:
Stop if you feel dizziness or pain. Check with your provider before continuing.
Keep shoulders relaxed and jaw unclenched for better activation.
How to Pace the 20 Minutes
A simple way to structure your time:
Warm-up: about 1 minute
Chin tucks: 2 to 3 short rounds
Chin tuck with shrugs or squeezes: 2 rounds
Stretches: upper trap, levator scapulae, anterior scalene, 30 seconds per side
Deep neck flexors: 1 to 2 rounds
Rhomboid stretch: 1 to 2 rounds
Isometrics: side bend and extension, short holds with rests
Take short breaks between sets. If anything hurts, back off or skip it.
Final Thoughts and Resources
A calm, steady routine can make a real difference.
This 20-minute flow warms you up, builds posture with chin tucks, eases tightness with focused stretches, and finishes with safe isometrics.
Keep it gentle, stay consistent, and you will likely feel less tension day by day.
Important reminders:
This content is for general education and demonstration.
It is not medical advice or a personalized treatment plan.
Check with your healthcare provider before starting.
If anything hurts or does not feel right, stop right away.
Do not use this to self-diagnose or avoid seeing your provider.
Be safe, have fun, and keep moving with kindness toward your body. Your neck will thank you tomorrow.